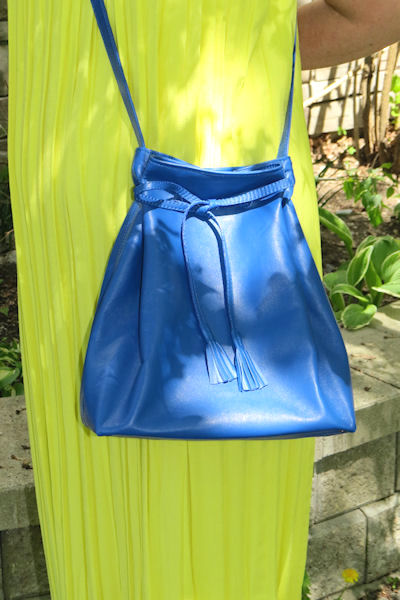
by Kathryn Brenne


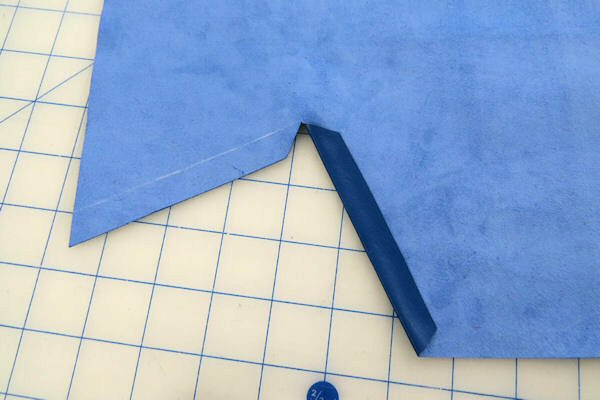
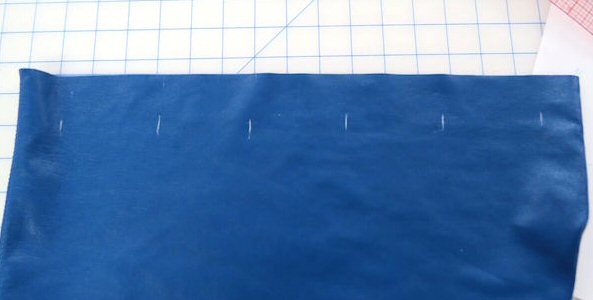
Clip into the corners of the bottom angled sections of your front and back bag pieces, just to the stitching line.
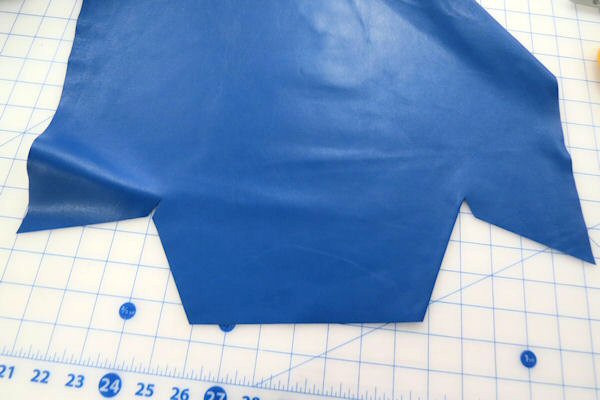
To sew the envelope bottom, clip into the corner just to the stitching line
Closeup
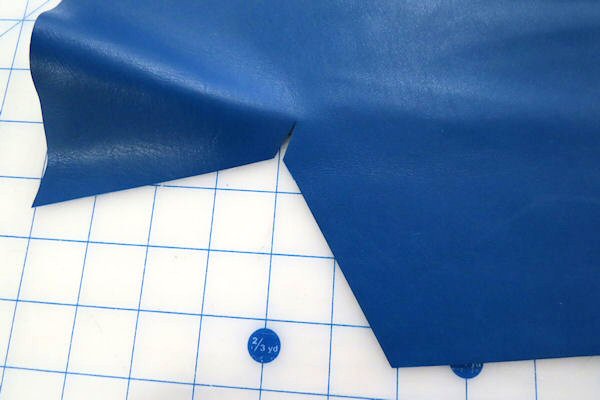
Fold under the corners of the bag bottom angled seams. Apply rubber cement to hold these edges under.
Fold and glue back the seam allowance on the bottom of the bag
Wrong side showing the glued back seam allowance
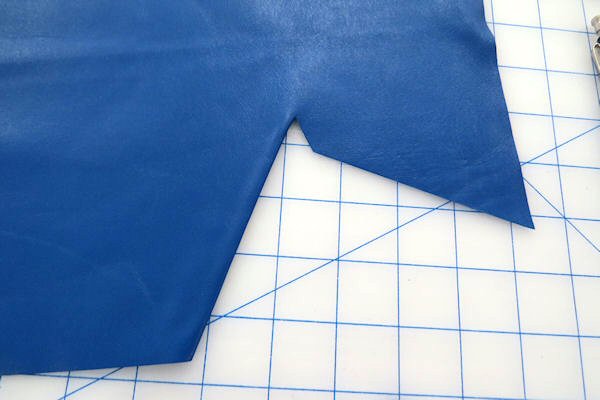
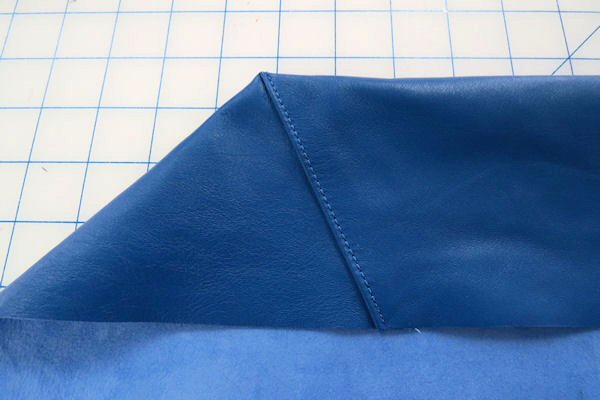
Lap the folded edge to the stitching line of the side angled seam. Leave long thread tails, edge stitch from the corner to the center. Pull the long thread tails through to the wrong side and knot them off. Complete this step for both sides of the bag as well as the lining.

Overlap the folded bottom seam and place it onto the stitching line of the sides of the bag. Edge stitch.
Closeup
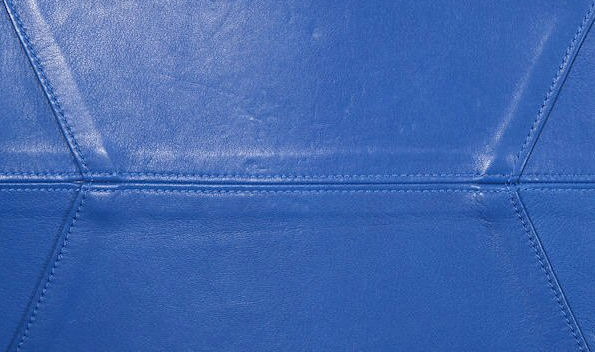
Bag bottom with envelope style seam
Join the two bag halves together with one long seam. Press the seam open and edge stitch. Do the same with the bag lining leaving a 5" opening in the bottom of the seam to turn the bag right side out once completed.
Plastic cutting mat used for bag bottom and bag foot
I used a flexible kitchen cutting mat purchased from the dollar store to make a bag bottom. Using a pen, I traced the size of the bag bottom onto the flexible plastic and cut it out using paper scissors. I rounded the corners so that they were not sharp. I placed the bag bottom inside of the bag and punched holes in the four corners using a hole punch. The holes went through both the bag bottom and the leather. I then removed the bag bottom to complete the next few steps.
Tape the facing to the lining and edge stitch
Sew the side seams of the facing together with a lapped seam. Chalk a 1/2" line around the top of the bag lining. Using double sided tape stick the facing to the lining, staying clear of the stitching line. Edge stitch to join the facing and lining together.
Sew the facing/lining to the bag leaving an opening in the bottom of the bag to turn it right side out after sewing
Sew the facing/lining to the bag with a 1/2" seam allowance around the top edge. Grade the seam allowance to reduce bulk. Turn the bag right side out through the opening in the bottom of the lining.

Bag bottom with envelope style seam
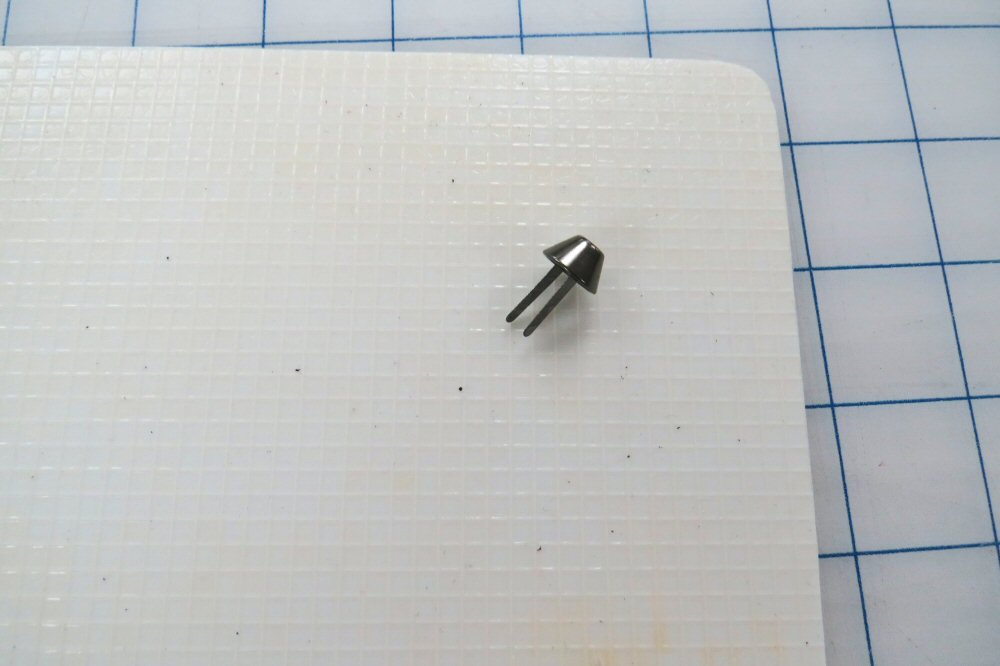
Insert the bag bottom through the hole in the bottom of the lining. Align the holes in the bag with the holes in the leather. Secure the bag bottom to the bag by hammering a rivet or bag foot into each hole.
Close the hole in the bottom of the lining by edge stitching on the sewing machine.
Edge stitched top edge
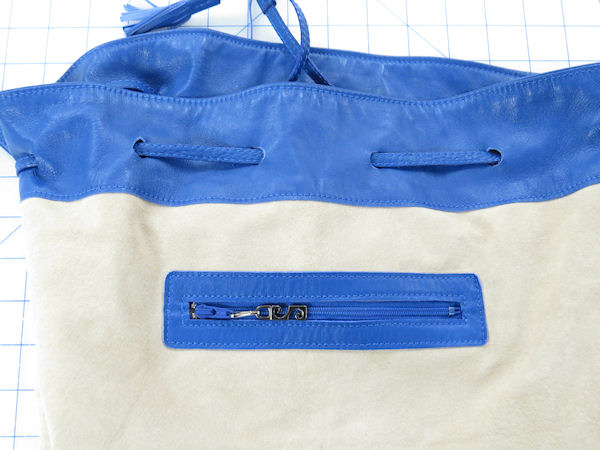
Push the facing/lining down into the bag and press the top edge. Edge stitch the top edge.
Chalk the position of the holes for the drawstring holes
Mark six openings on each the front and back of the bag for the drawstring. I positioned the markings 1 3/4" down from the top edge. Use a leather hole punch to cut holes through the bag and the facing. The hole punch works best if you place a piece of scrap wood underneath the bag.
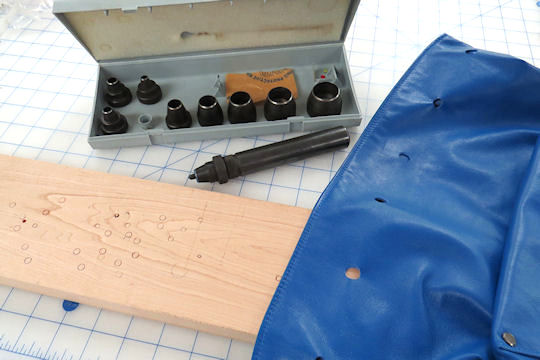
Punching holes with hole punch
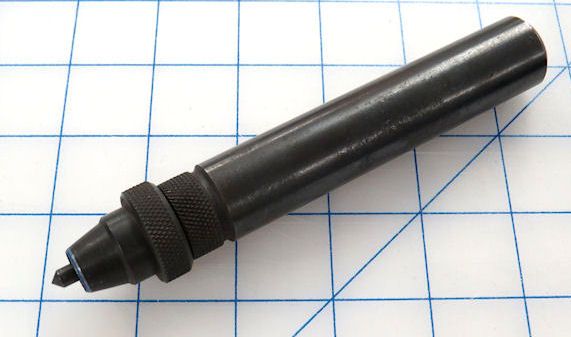
Hole punch from Tandy Leather
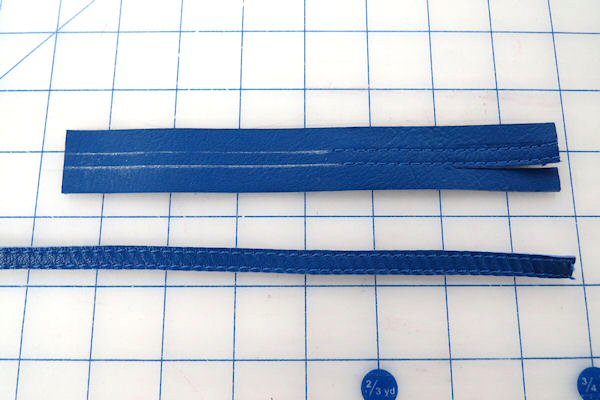
Chalk two stitching lines to make the drawstring. Stitch along chalked lines and then cut excess away.
To make the drawstring, use rubber cement to glue two pieces of leather together that are the required length by 3/4" wide. Chalk two stitching lines 1/4" apart. Sew the two layers together along the chalked lines. Use a small pair of sharp scissors to trim away the excess leather close to the stitching. Finish the ends of the drawstring, once it has been threaded through the bag, by attaching tassels.
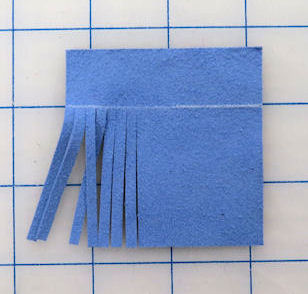
Chalk a header on the tassel and cut fringe to the chalked line.
To make the tassel cut a piece of leather 2 1/2" long by 3" wide. Cut fringe leaving a 3/4" header.
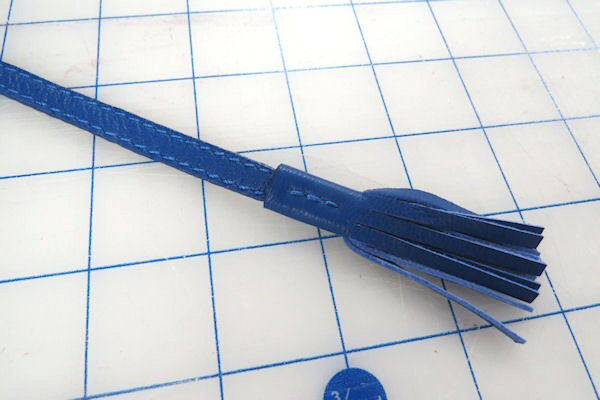
Attaching the tassel to the drawstring
Wrap the header around the end of the drawstring and secure by hand with a backstitch.
It is very difficult to cut one long cross body strap out of one lambskin. You would need two very long pieces, one for the strap and one for the back facing of the strap. Making the strap in two sections solves this issue, and allows the strap to be adjustable as well. Sometimes you will need to make a join on some of your straps, which is best done on the facing side so that it is not visible.
The edges of the strap get glued in towards each other on the wrong side of the strap
To make the strap apply rubber cement to the wrong side of the main strap piece. Fold the edges in to meet in the center and press.
Then apply rubber
cement to the wrong side (the folded-in side) of the prepared strap. Position the wider Strap facing over the back. Edge stitch the strap. Using a pair of
duck billed appliqué scissors to create a beveled edge, trim the Strap facing close the edge stitching.

Round the ends of the strap
Round the ends of the strap to prevent square corners from curling up. Be careful not to cut your stitches when curving the ends of the strap.
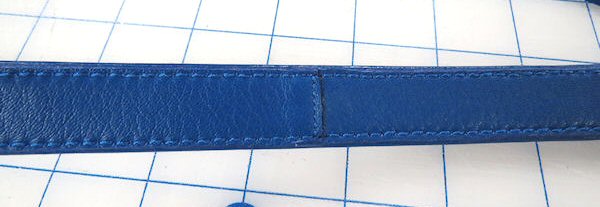
Strap with lapped seam on underside.
If the strap leather has to be pieced, do so on the underside. Lap the seam to join the two pieces together, stitch the seam and then glue it to the wrong side of the strap before stitching and trimming.
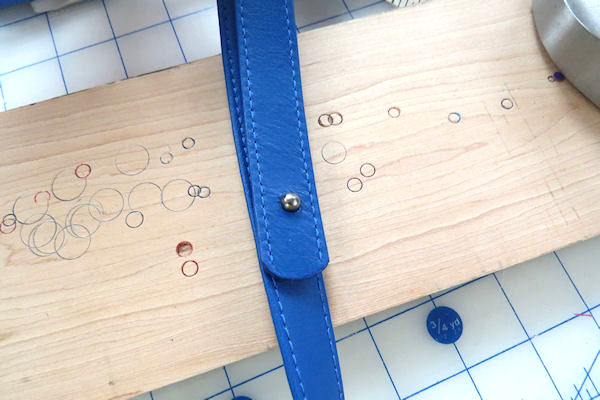
At the end of one of the straps, punch two or three holes. Fasten screw-in belt studs through these holes. Lap the end of the other strap over the belt studs and mark the hole positions. Make these holes small and snug to fit tightly over the studs, anchoring the strap closed.
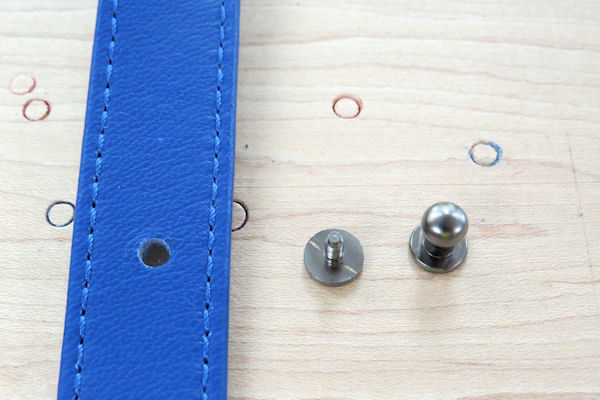
Strap with hole punched.
Completed adjustable two-piece strap.
Secure the strap to the bag with one or two rivets.
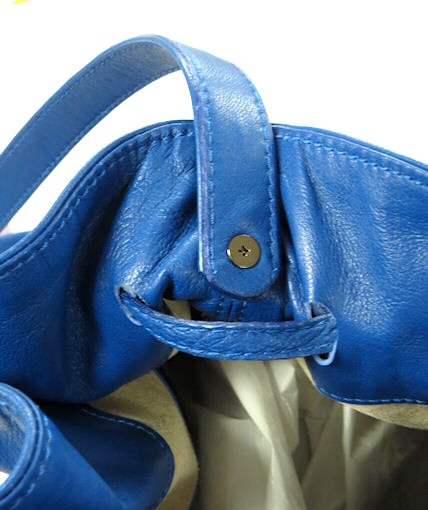
Strap attached to bag with a screw-in rivet
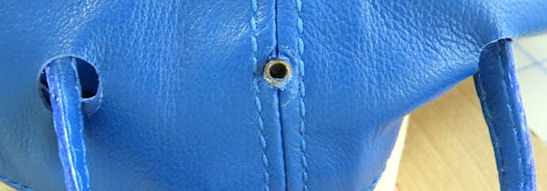
Attaching a screw-in rivet to the bag and strap
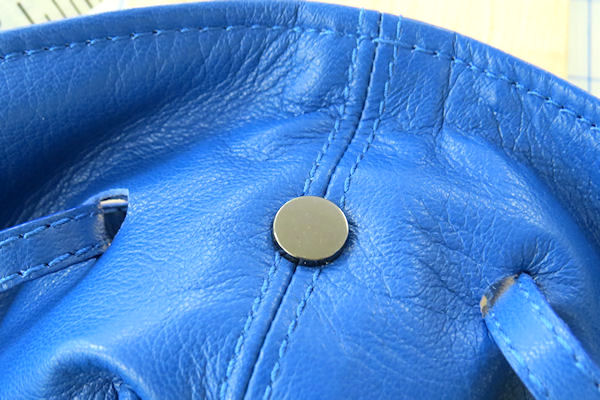
Screw-in rivet shown from other side.